|
Maxine |
Maxine, Max, Mamma Max, Gramma Max, GiGi, Mother, Mom -
I'm pretty sure she answers to all of them.
I'm pretty sure she answers to all of them.
She is my mother.
She used to be a very good seamstress, making clothes and dresses for me when I was little,
and even into college. (I remember one frantic call on a Thursday evening saying
I HAD TO HAVE a long black dress for Saturday - that Saturday.
And yes, she came through for me. )
And yes, she came through for me. )
I'm not sure when she decided to stop sewing, but she did.
It was my grandmother who actually taught me how to sew.
Max was a working woman after her divorce, so there wasn't much free time to sit down
and teach, but my Nonie, God Bless her, was patient and passed on her love of sewing to me.
She's also the person who taught me how to crochet, but that's a blog for another day.
Max was a working woman after her divorce, so there wasn't much free time to sit down
and teach, but my Nonie, God Bless her, was patient and passed on her love of sewing to me.
She's also the person who taught me how to crochet, but that's a blog for another day.
No matter how many times I've tried to convince Max that she should start
sewing again and join me on this quilting journey, she has declined.
Of the many things I've made for her -
payback for years of babysitting services - there are two quilts.

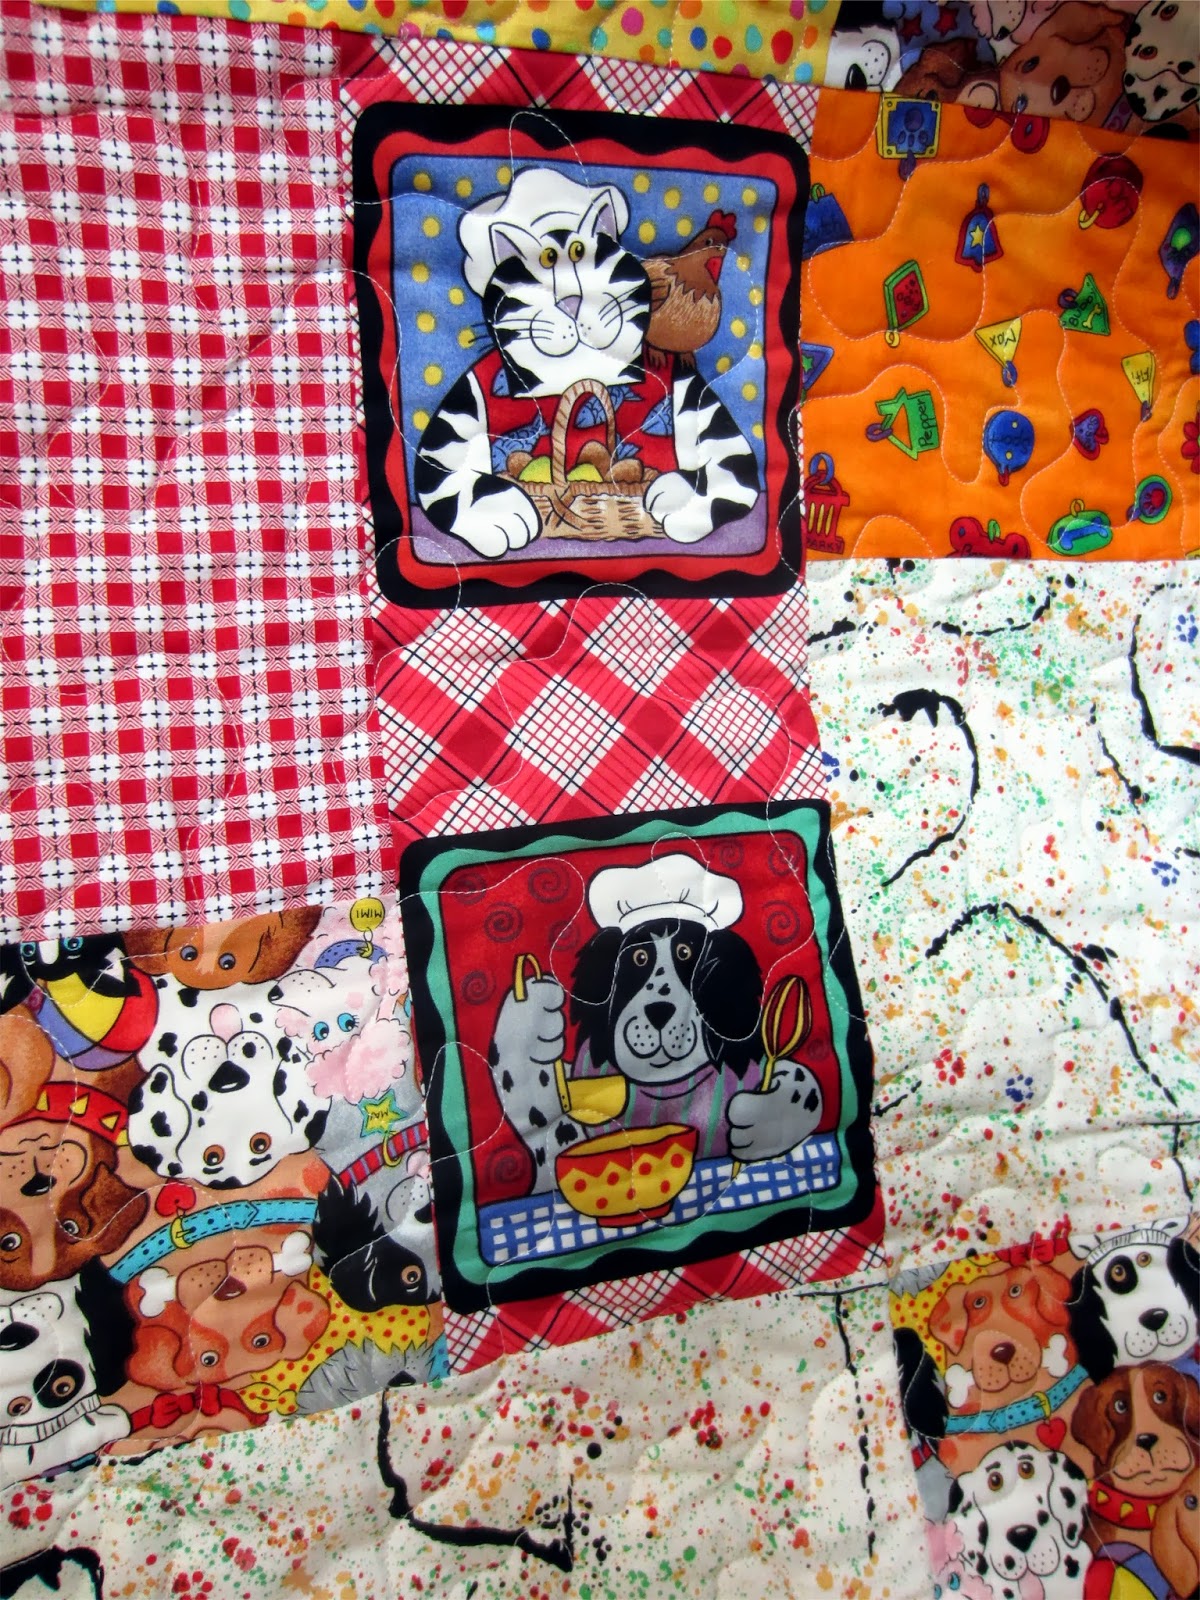
This one is small, lap sized, and faded from years of being in the
sun on her back porch. (No, the quilt does not have feet.)

There are chickens on the fabric -

"Chicken" was her pet name for me when I was little.
It stuck - not so much that people still call me that (thank goodness),
but I seem to have quite a collection of "chicken" things around the house,
as well as a drawer full of chicken fabrics waiting for yet another quilt.

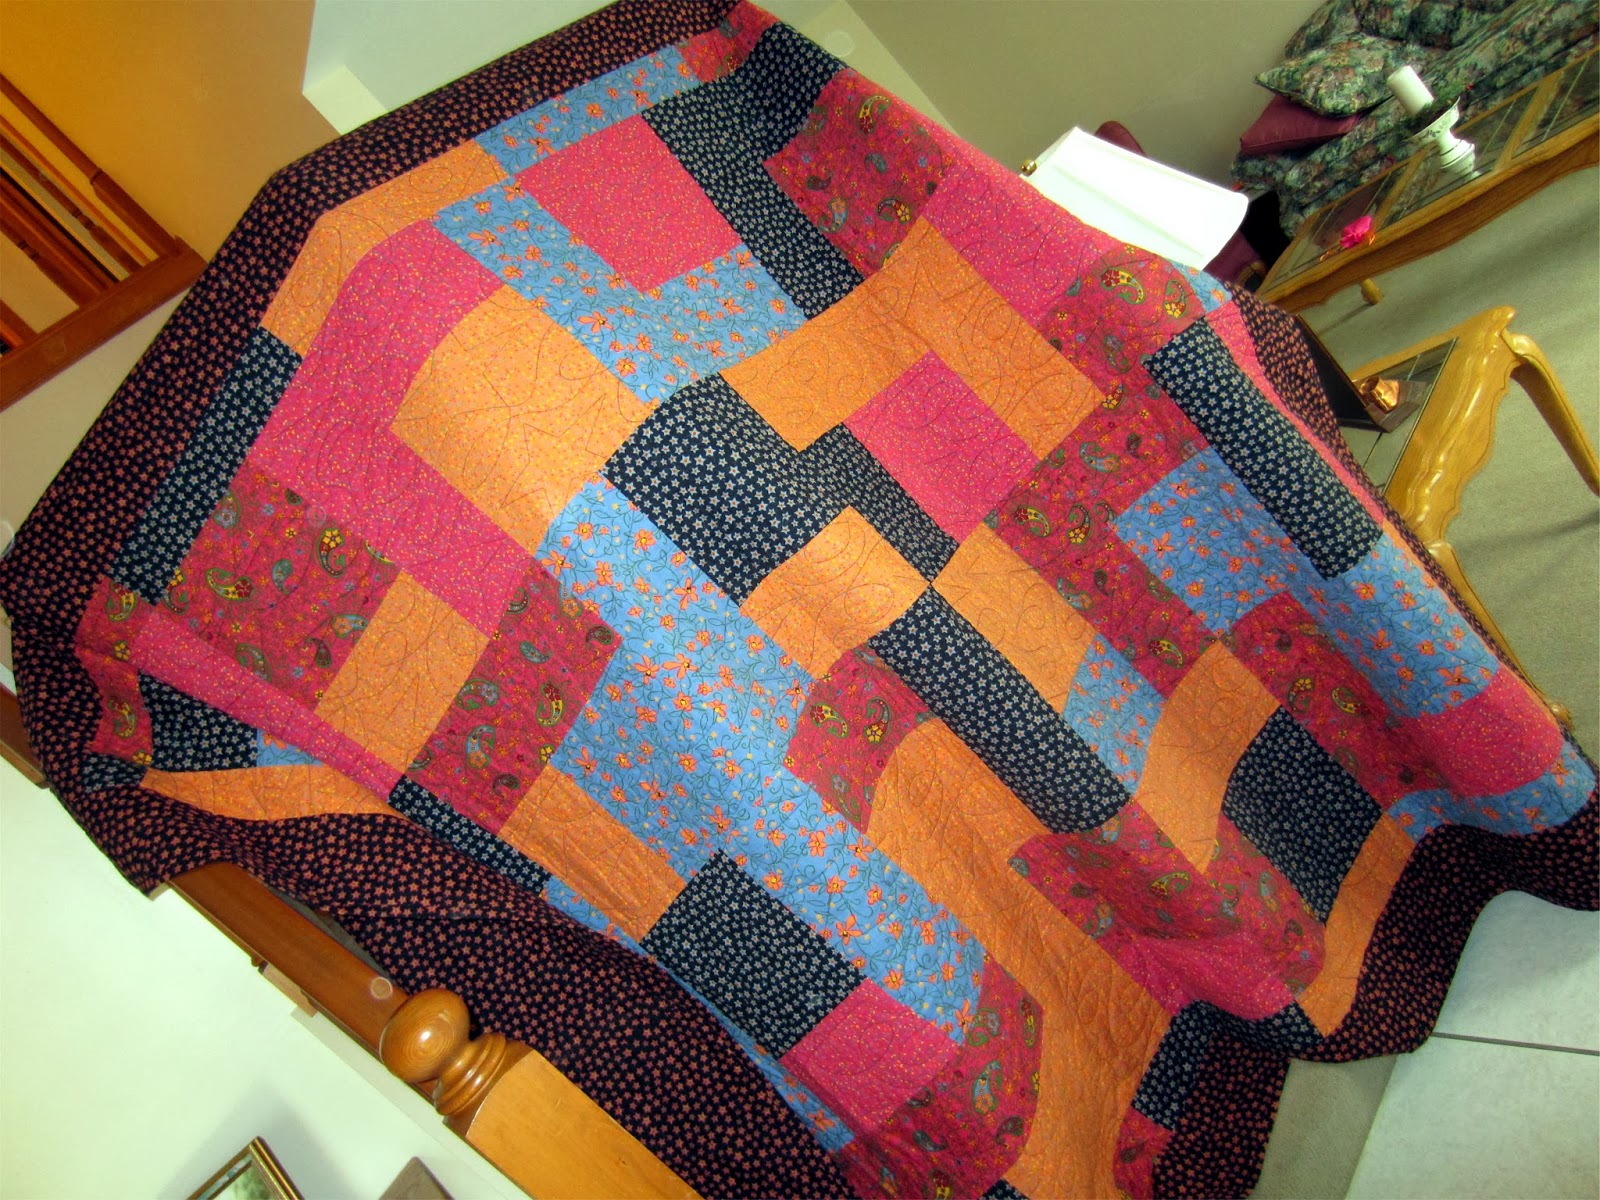
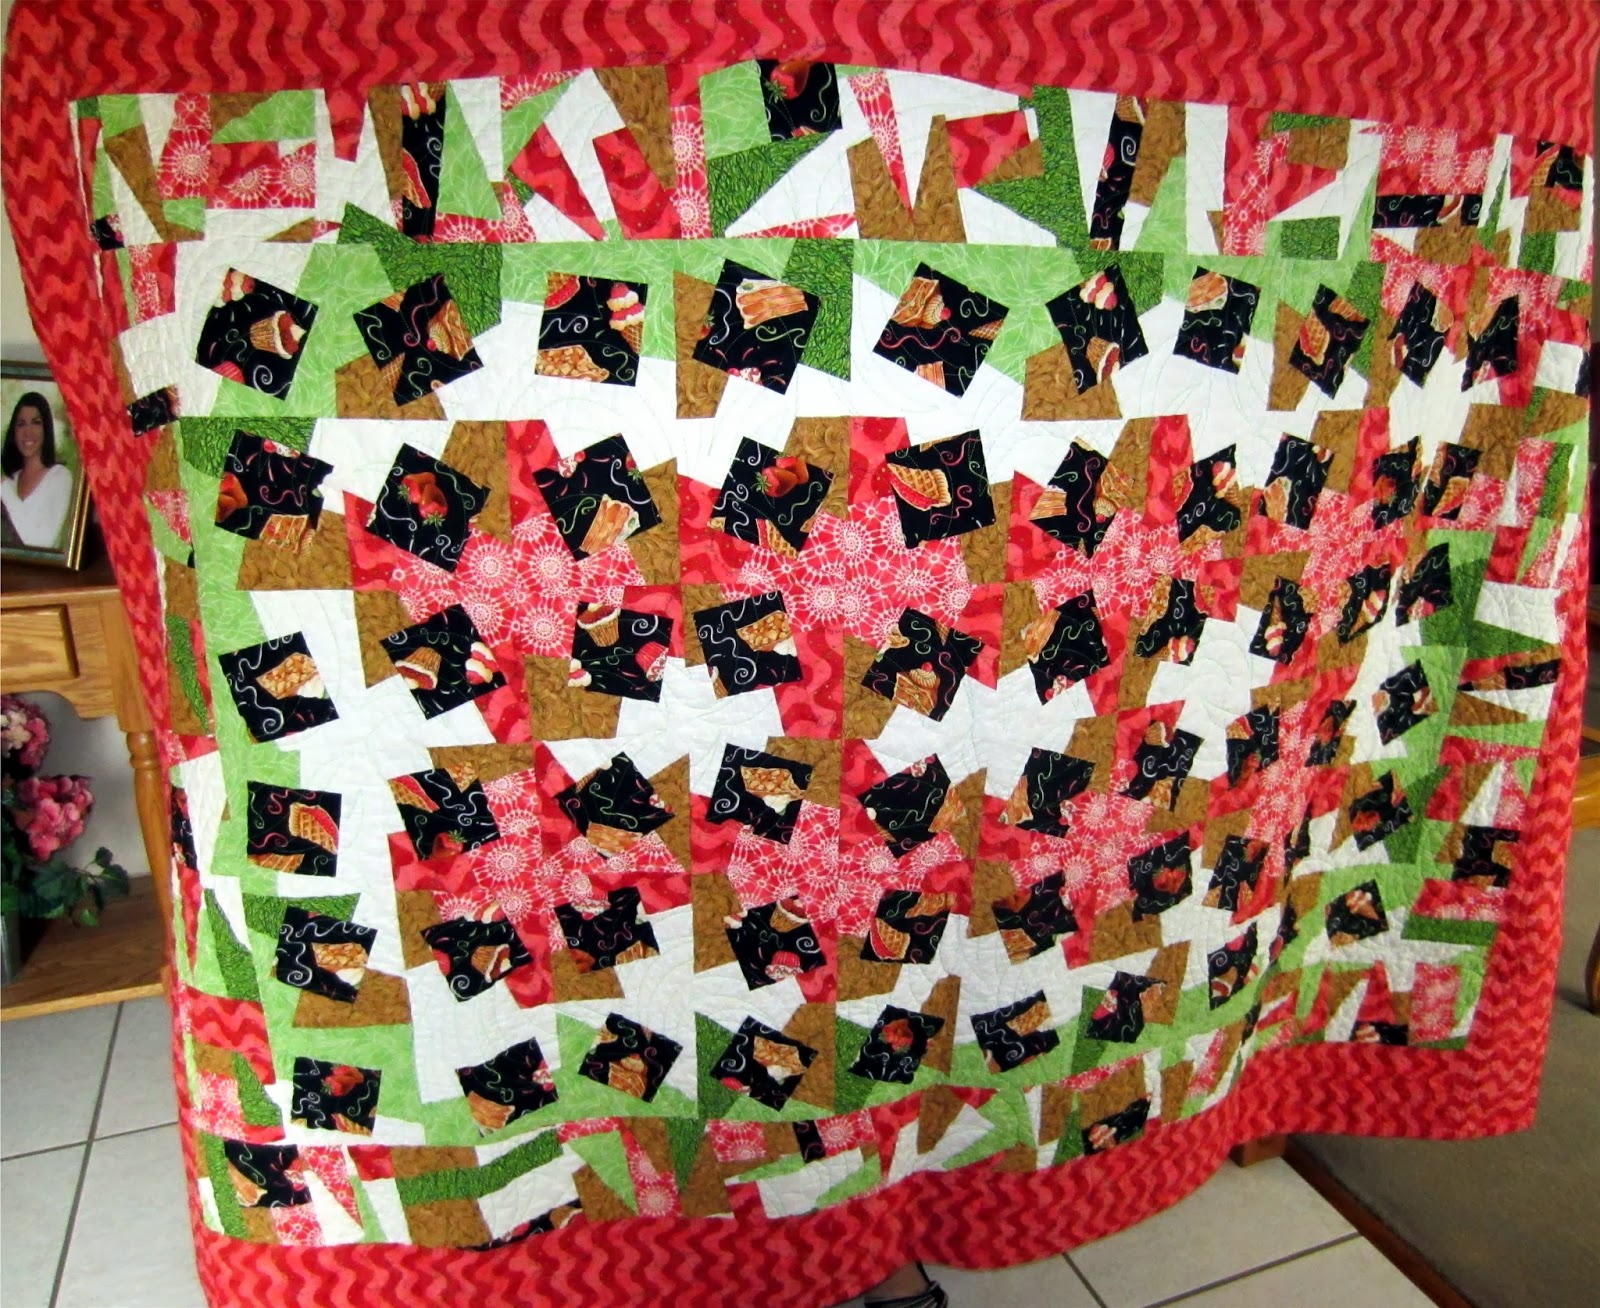
This is the second quilt I made for her. It's a little larger and finds it's home
on the back of a chair in the den. Again, this is the Turning Twenty pattern.
It's a quick and easy pattern, but I can see now that
I've over-used it through the years. I've lost count...


This was a FQ bundle from a fabric collection.
It's so nice to be able to use fabrics specifically made to go together.
None of that angst over which fabrics go together and which ones to use.

Presented to Max in 2005.
And this time - I remember to put the name of the person who quilted it on the label.
Thanks Karen H. Nice all-over meander.
There have been other things over the years, table runners, tote bags, fleece
blankets, but there are the 2 quilts I've made for Max.